How to Redirect Customers After Checkout in WooCommerce
What happens after a customer completes their purchase is just as important as the checkout experience itself. Most store owners don't think about this. They set up checkout, they optimize the payment flow, and then they just let customers see the default WooCommerce thank you page and disappear.
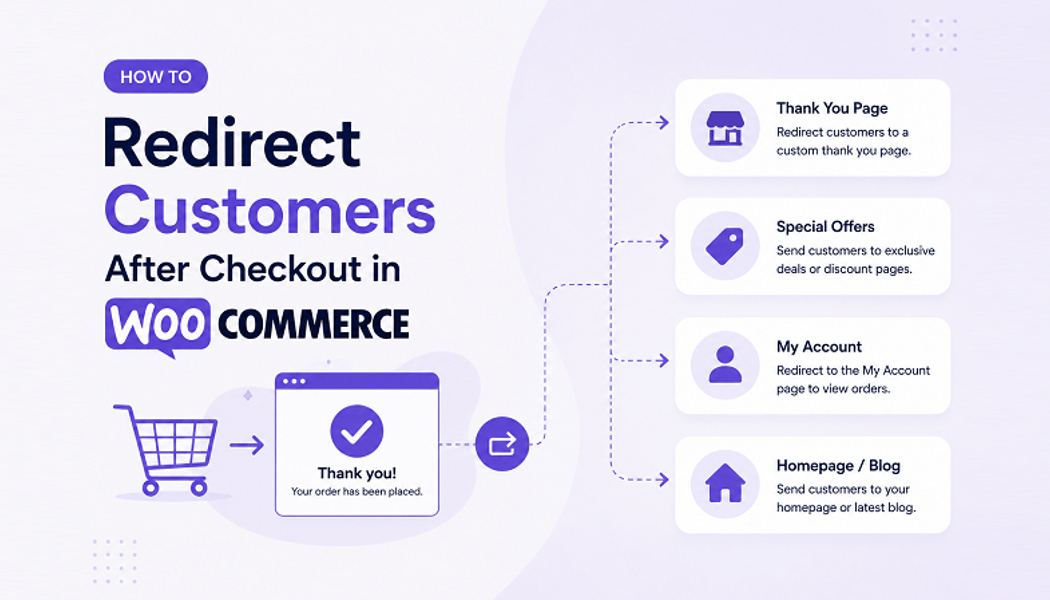
But what if you redirected them somewhere useful? What if you showed them related products they might want? What if you redirected them to a thank you video? What if you sent them to a page with next steps for their order?
The post-checkout moment is valuable. Customers are in a good mood because they just completed a purchase. They're engaged. They're looking at your site. If you handle this moment right, you can increase repeat purchases, get more upsells, build loyalty, or just make sure they have the information they need.
The question is how to actually redirect customers after checkout. There are several ways to do it, and they range from simple to technical. Let me walk through your options.
Understanding the Default WooCommerce Checkout Behavior
By default, WooCommerce sends customers to a thank you page after checkout. This page shows their order number and some basic information. That's it. The URL is usually something like yourstore.com/checkout/order-received/.
The problem is this page is generic. Everyone sees the same thing. There's no personalization. There's no business logic behind it. It's just a confirmation that the order went through.
For a lot of store owners, that's fine. The transaction is complete. The customer is happy. Move on.
But for store owners who want to actually use this moment, it's limiting. You can't show different things to different customers. You can't redirect based on what they bought. You can't take advantage of the fact that they're engaged and probably want to see more.
That's where understanding your redirect options becomes important.
Method 1: Using Code (For Developers)
If you have development skills or access to a developer, you can hook into WooCommerce's checkout process and redirect customers however you want.
The way this works is you add code to your theme's functions.php file or in a custom plugin. You use WooCommerce's hooks to intercept the checkout completion and redirect the customer wherever you want.
The approach:
You use the woocommerce_thankyou hook or woocommerce_checkout_redirect_to_login filter depending on what you want to do. You check various conditions about the order, the customer, or the products purchased. Based on those conditions, you redirect to a custom URL.
Example logic:
If customer bought product A, redirect to upsell page for related products. If they paid with payment method X, redirect to a thank you page specific to that method. If they're a returning customer, redirect to one page. If they're new, redirect to another.
The reality:
This works but it's code-based. You need technical knowledge. If something breaks with a WooCommerce update, you need to fix it. If you want to change the logic later, you need a developer. It's flexible but it requires ongoing technical maintenance.
Best for:
Developers or stores with technical resources who want complete control and are willing to maintain custom code.
Method 2: Using WooCommerce Hooks and Filters
Similar to Method 1 but slightly different approach. Instead of redirecting outright, you modify the WooCommerce thank you page URL using available filters.
WooCommerce has a filter called woocommerce_get_return_url that lets you modify the URL that customers get sent to after checkout. You can hook into this and change the URL based on various conditions.
How it works:
You add a filter to your site that checks the order and determines what URL should be shown. It's less heavy-handed than a full redirect and integrates more cleanly with WooCommerce's flow.
The catch:
You still need coding knowledge. You still need to maintain it. But it's cleaner than raw redirects because you're working with WooCommerce's intended patterns.
Best for:
Developers who want a solution that integrates well with WooCommerce's architecture.
Method 3: Using a Redirect Plugin
There are generic redirect plugins that let you set up redirects based on rules without coding.
Plugins like Redirection let you create redirect rules. If URL matches X pattern, redirect to Y URL. You can set up rules like: if someone hits the order-received page with certain parameters, redirect them somewhere else.
How it works:
You install a redirect plugin. You set up redirect rules based on URL patterns or other conditions. When a customer completes checkout and lands on the thank you URL, the redirect plugin sees this and sends them where you configured.
The limitation:
Generic redirect plugins work for simple situations. But they're not built for WooCommerce-specific logic. Redirecting based on what product was purchased, or which payment method was used, is harder. You're working around WooCommerce rather than with it.
Best for:
Simple redirects. Like sending everyone to a single page. Or redirecting based on simple URL patterns. Not sophisticated per-order logic.
Method 4: Using a Thank You Page Plugin (The Comprehensive Solution)
This is where a purpose-built thank you page plugin comes in. A plugin like the WooCommerce thank you page by Extendons is specifically designed for this problem.
Instead of trying to hack WooCommerce or use generic redirects, you use a plugin built specifically to handle post-checkout redirection and customization.
How it actually works:
You install the plugin. You configure rules about when certain thank you pages should show up. The plugin handles the redirection logic. You don't write code. You don't manage technical debt. The plugin does the work.
What you can do:
With the Customized Thank You Pages plugin, you get several redirect options:
- Redirect based on products purchased
- Redirect based on product categories
- Redirect based on product tags
- Redirect based on product type (simple, variable, grouped)
- Redirect based on payment method
- Redirect based on user role
- Redirect to any WordPress page
- Redirect to any custom URL
- Redirect to product pages
- Redirect to category pages
You can create multiple rules and set priorities so that the most specific rule applies when multiple rules match.
The WooCommerce thank you page url:
With a plugin like this, you control your WooCommerce thank you page url completely. You can create a custom thank you page for WooCommerce that's specific to your business. You can send the URL wherever makes sense.
Real example:
Let's say you sell both digital products and physical goods. With the plugin, you create one thank you page for digital product customers that shows immediate download links and setup instructions. You create a different WooCommerce thank you page for physical product customers that shows shipping information and tracking details.
When someone buys digital content, they get sent to the digital thank you page. When someone buys physical goods, they get sent to the physical thank you page. Same store, completely different experiences based on what they bought.
Another example: You have a loyalty program. You create a special thank you page for customers in your VIP user role that shows them bonus points they earned. Regular customers see a different thank you page. The plugin handles this with user role-based rules.
Best for:
Store owners who want sophisticated redirect logic without writing code. Anyone who needs conditional redirects based on WooCommerce data.
Setting Up Thank You Page Redirects with a Plugin
If you go the plugin route, the process is straightforward.
Step 1: Install and configure
You install the Customized Thank You Pages plugin. You go to WooCommerce > Settings > Customized Thank You Pages. You enable the custom thank you page feature.
Step 2: Create your thank you pages
You create custom pages in WordPress that will be your thank you pages. These pages can include custom content, upsells, product recommendations, whatever you want. You use the provided shortcodes to show order details, customer information, related products.
A plugin like this comes with pre-built templates you can customize. You can also create your own pages from scratch.
Step 3: Set up your rules
You create rules that determine when each thank you page should show up. You go to WooCommerce > Thank You Page Rule. You create a rule.
For each rule you specify:
- The rule name
- What conditions trigger it (product, category, payment method, user role, etc.)
- Where to redirect (which thank you page, or any custom URL)
- The priority of the rule (in case multiple rules match)
Step 4: Configure by payment method (optional)
If you want different thank you pages for different payment methods, you can set that up too. You go to the Payment Methods tab and assign a thank you page to each payment method.
Step 5: Test
You make a test purchase and verify that customers get sent to the right thank you page. You test different scenarios. You test with different payment methods. You make sure the redirects work as intended.
Step 6: Customize styling
The plugin lets you customize the look of your thank you pages through a customizer interface. You can change colors, fonts, table styling, everything. You can make your thank you page feel like part of your store's brand.
Best Practices for Thank You Page Redirects
Make it relevant to what they bought: The most effective redirects show customers something related to their purchase. If you just redirect to a random page, it feels disconnected. Relevance matters.
Keep it on brand: Your thank you page should feel like part of your store. Use your colors, your fonts, your voice. Make it feel like a natural continuation of their shopping experience, not a jarring switch to a different site.
Make the next step clear: Don't just show information. Tell them what to do next. Download their file. Schedule their appointment. Track their order. Set up their account. Whatever the next step is, make it obvious.
Don't overwhelm them: After someone makes a purchase, they're done with the buying process. They don't want ten different things happening at once. Keep the thank you page focused. One main thing. Maybe one or two secondary things. That's it.
Use order details: Show them their order number, what they bought, the total. Personalization makes a difference. A thank you page that says "Thanks for your order #12345" feels better than a generic "Thanks for ordering."
Include support information: Put your contact information or support resources on the thank you page. Customers sometimes have questions right after purchasing. Make it easy for them to get help.
Test different approaches: Different types of products might benefit from different thank you page strategies. What works for a physical product doesn't necessarily work for a digital product. Create different thank you pages for different product types and see what resonates with your customers.
Comparing Your Options
Let me be honest about the tradeoffs.
Code approach: Pros: Complete flexibility. You can do literally anything. Cons: Requires developer. Technical maintenance. Risk of breaking with updates.
Hooks and filters: Pros: Integrates well with WooCommerce. Flexible. Cons: Still requires developer. Still requires maintenance.
Generic redirect plugin: Pros: No coding needed. Easy for simple redirects. Cons: Not built for WooCommerce logic. Limited for complex scenarios.
Purpose-built thank you page plugin: Pros: Built for this specific use case. No coding. Easy to set up. Handles complex scenarios. Regular updates and support. Cons: Another plugin to maintain. Monthly cost for some plugins.
For most store owners, a purpose-built plugin is the right choice. You get the functionality you need without technical debt.
Moving Forward
If you're currently using the default WooCommerce thank you page, you have options. You can implement custom code if you have development resources. You can use generic redirects if you need something simple. Or you can use a purpose-built thank you page plugin if you want the balance of functionality and simplicity.
The choice depends on your technical resources and how sophisticated your redirect needs are. But whatever you choose, don't ignore the post-checkout moment. It's too valuable to waste on a generic thank you message.
A custom thank you page for WooCommerce gives you control over how customers experience the post-purchase moment. That control has real business value.